The Time In / Time Out Timesheet Format enables employees to enter the time that they started and finished a particular activity on each day of the week. This article shows how to set up a Time In / Time Out Timesheet Plan and contains the following sections:
1. Add a New Timesheet Plan Type
Navigate to: Administration >> Time


-
- Automatically create a task for enrolled employees - ticking this will create a new task in an employee's inbox every week.
- Send an e-mail to employee when task is automatically created - ticking this will send an e-mail to notify when the task is created (this can only be used if the Automatically create a task for enrolled employees box is ticked).
2. Supported Time Types Tab
If you have selected to validate the timesheet against the employee's working time pattern in the Details tab, you will need to select which Time Types to Include in Standard Work Time.

For more information, see: Time Types.
3. Enrolling an Employee
Navigate to: People >> Search for a Person >> Time Recording >> Timesheet Plans.
- Click Add New.
- Select the Effective From date from the calendar lookup.
- Choose the Time In / Time Out Plan that you have set up. (The Timesheet Format will be filled in automatically).
- Click Save and Close. The employee will be enrolled on the plan.

4. Creation of Employee Timesheets
Whether timesheets are created automatically or manually, you must make sure that all employees who need to enter or approve timesheets have an active user account.
Timesheet Automatically Created
If your plans have been set up to Automatically create a task for enrolled employees and you have the Timesheet Authorisation Process activated:
- A timesheet task is created in an enrolled employee's inbox every Monday morning.
- When a new employee is enrolled on a plan (depending on the time they are enrolled), their first timesheet and task will be automatically created by the end of that day or the next morning.
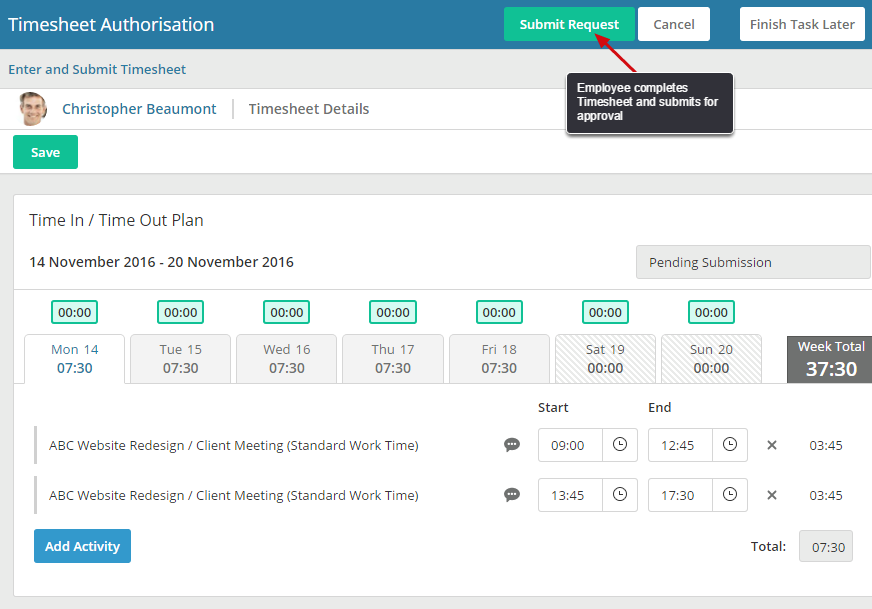
Task in Employee's Inbox:

Timesheet Authorisation Process:
Timesheet Manually Created
If your plans have not been set up to Automatically create a task for enrolled employees and you have the Timesheet Authorisation Process activated, their timesheets must be created manually by themselves, their line manager or an HR Professional.
To create Timesheets manually:
- An Employee should navigate to: My Self >> Time Recording >> Timesheets.
- A Line Manager should navigate to: My Team >> Time Recording >> Timesheets.
- An HR Professional should navigate to: People >> Search for a Person >> Time Recording >> Timesheets.


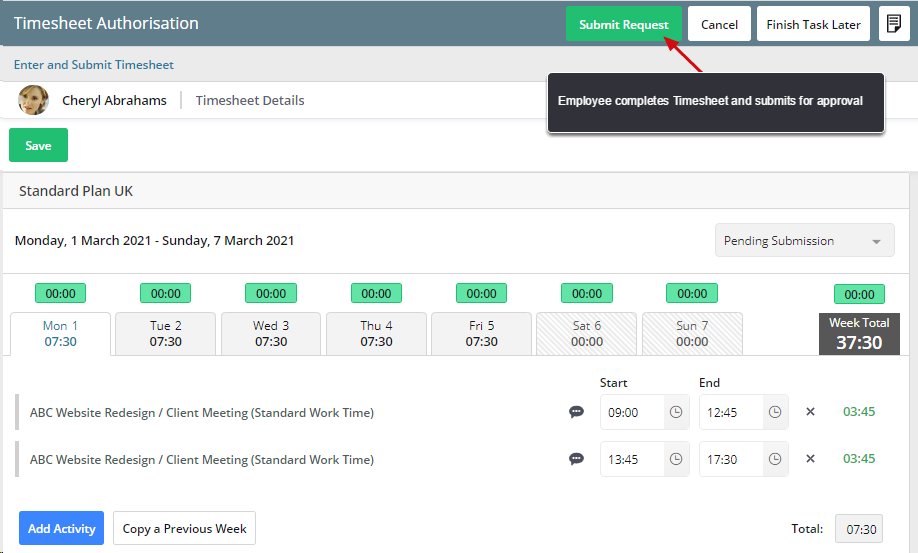
5. Adding Activities to a 'Time In / Time Out' Timesheet
To add activities to the Timesheet:
1. Select Add New.


6. Comments, Bank Holidays and Absences
Comments
To add comments to the Time In / Time Out timesheet:
- Select the icon next to the Start Time of any activity.
- Enter your comments in the box.
- Click away to save the comment.

Bank Holidays
A Bank Holiday icon will appear on any days which are set as Bank Holidays in an employee's calendar and an activity will automatically be added to that day called "Bank Holiday Full Day".

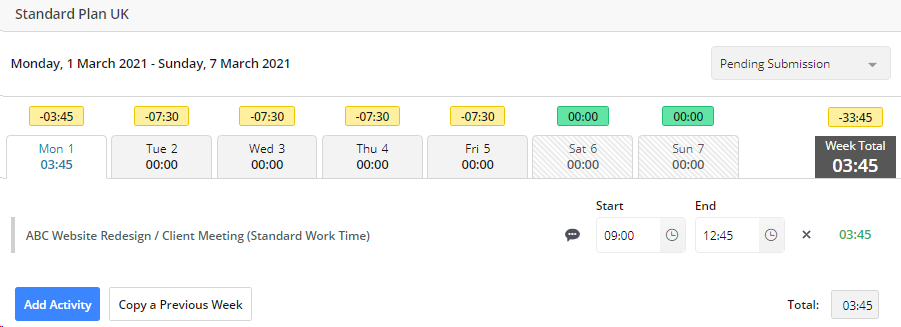
Absences
In the Time In / Time Out timesheet, any absences appear at the bottom of the timesheet underneath all activities. The Absence has the Plan Type name listed with the Start and End Time of each half day of absence automatically entered into the box for that day (as shown below):
