If an employee transports colleagues in their own vehicle during a business journey, passenger mileage payments can be configured to reimburse an additional amount per passenger.
The configuration process differs depending on your mileage version.
📝Note
Mileage Version 1 is not supported and is not covered in this article.
Mileage Version 2
For Mileage Version 2, separate mileage rates can be created for different numbers of passengers.
For example:
- One Passenger = 50p per mile
- Two Passengers = 55p per mile
How to create passenger mileage rates
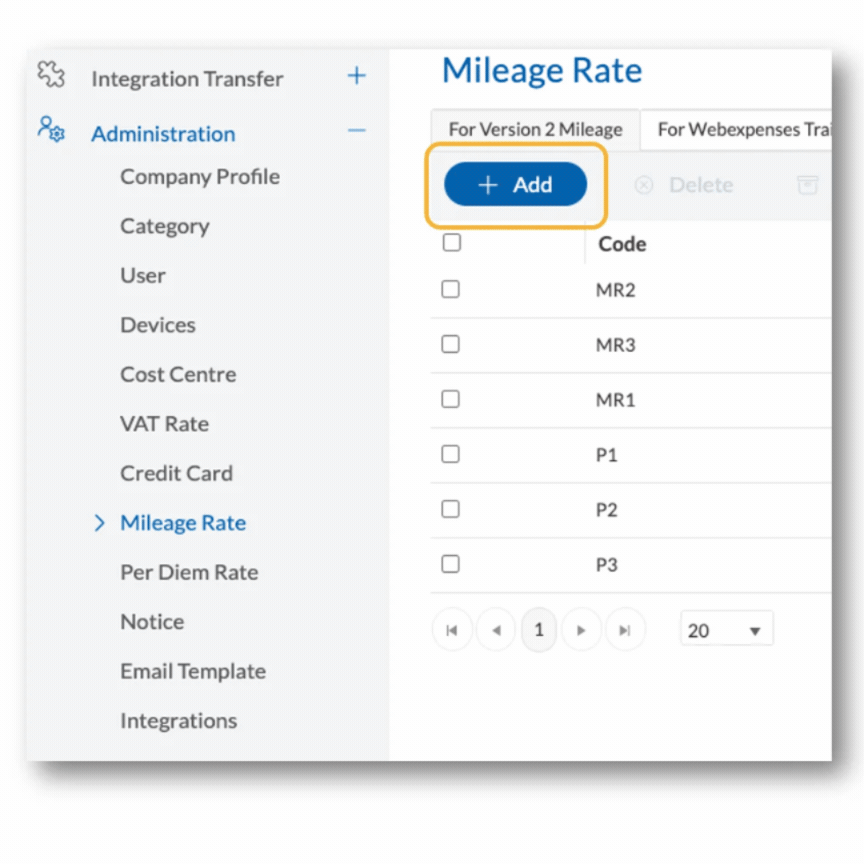
- Go to Administration then Mileage Rate
- Select +Add
- Complete the mileage rate fields (Rate name, Mileage amount and Passenger-specific reimbursement rate)
- Select Save
- Repeat these steps until all required passenger mileage rates have been created.
Once configured, claimants can select the appropriate mileage rate when submitting a mileage claim. Passenger details can then be added using the + Attendee option.
Mileage Version 4
For Mileage Version 4, mileage rates are assigned based on vehicle details, so passenger mileage is configured differently.
This requires:
- A dedicated passenger mileage category
- Per Diem rates for passenger reimbursement
Step 1: Create a passenger mileage category
- Go to Administration then Category
- Select +Add
- Enter a category name (e.g. Passenger Mileage)
- Enable the Per Diem Category by toggling it to Yes
- Select Save
.jpg)
Step 2: Create per diem rates
- Go to Administration then Per Diem Rate
- Select +Add
- Enter the Code, Rate Description and Rate value
- If required, adjust the Valid From and Valid To date
- Enter the reimbursement amount into the Rate field
- Select Save
- Repeat until all required passenger rates have been created
A separate Per Diem rate should be created for each passenger scenario.
.jpg?width=670&height=287&name=rtaImage%20(6).jpg)
Step 3: Update the Per Diem label
- Go to Customisation then Per Diem Rate
- Update the Per Diem field label (e.g. Passenger Mileage)
- Select Save
.jpg?width=670&height=448&name=rtaImage%20(7).jpg)
💡Tip
Need more help with expense claims? We’ve got answers in the following articles: