This article shows you how to upload and organise documents in Workspaces. It contains the following sections:
1. Uploading Documents to Workspaces
Navigate to: Administration >> Workspaces >> Select a Workspace >> Documents.
1. Click Upload File.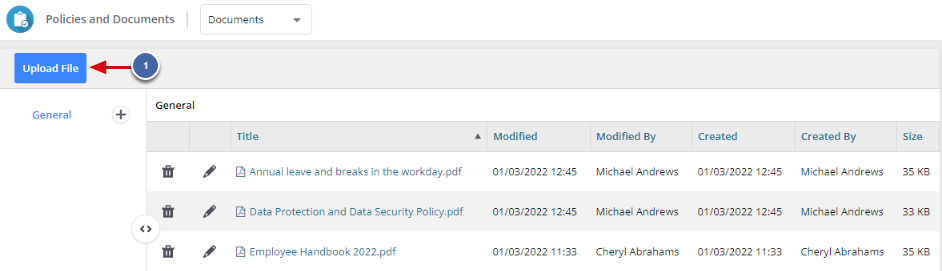
2. Click Choose File and locate the file on your computer.

3. Click Upload.
-
- To upload multiple documents, click Choose File again or multi-select files from your computer before uploading.

2. Using Document Categories
You can organise your document categories and choose who can view documents contained in each category.

1. Navigate to the Workspaces Hub, open the drop-down for the Workspace and select Document Categories.
2. Select Add New.

3. Enter a Category Name.
4. Enter an Access Type. The available types are:
-
- Open: All participants can upload documents in this category.
- Closed: All participants can view documents, but only workspace administrators can upload documents in this category.
- Hidden: Only workspace administrators can see this category and its contents.
5. Click Save and Close.

To upload a document into the new category:
- Navigate to: Administration >> Workspaces >> Select a Workspace >> Documents.
- Select the category name from the document category menu and then follow the same instructions as in section 1 to upload the document.

3. Using Document Folders
You can organise your files in Workspaces using folders.

1. Select the Document Category you want to add a folder for.
2. Click the '+' icon to create a new folder.
-
- The new folder will appear with the title 'New Folder' in the left hand menu under the Document Category and in the list of files within the category.

3. To rename it, click the pencil icon.
4. Enter a new Title in the pop-up and click OK:

- To upload a document into the folder, open it by clicking on its blue link in the list and then follow the same instructions as in section 1 to upload the document.