The Quick Actions Widget can be configured to feature the links that are the most useful for your organisation, allowing users to quickly navigate to relevant key pages faster.
Configuring the Quick Actions widget allows you to:
- Edit / reorder / remove existing Quick Actions.
- Add new Quick Actions with internal or external links.
- Have two or more unique widgets on your dashboard with differently configured Quick Actions.
- Set different Quick Actions widgets for different security roles, or allow users to personalise their own widgets.

This article explains how to configure this widget and contains the following sections:
1. Navigating to the Configuration Screen
As an HR Professional configuring the Quick Actions widget for a Security Role.
HR Professionals can configure the Quick Actions widget for each security role, creating a default widget tailored to that security role.
To do this:
1. Navigate to: Administration >> Setup & Security >> Security Role >> Select a Role >> Security Role Dashboards.2. Select the Home Dashboard.
3. Click on the Pencil Icon in the top right corner of the Quick Actions widget:
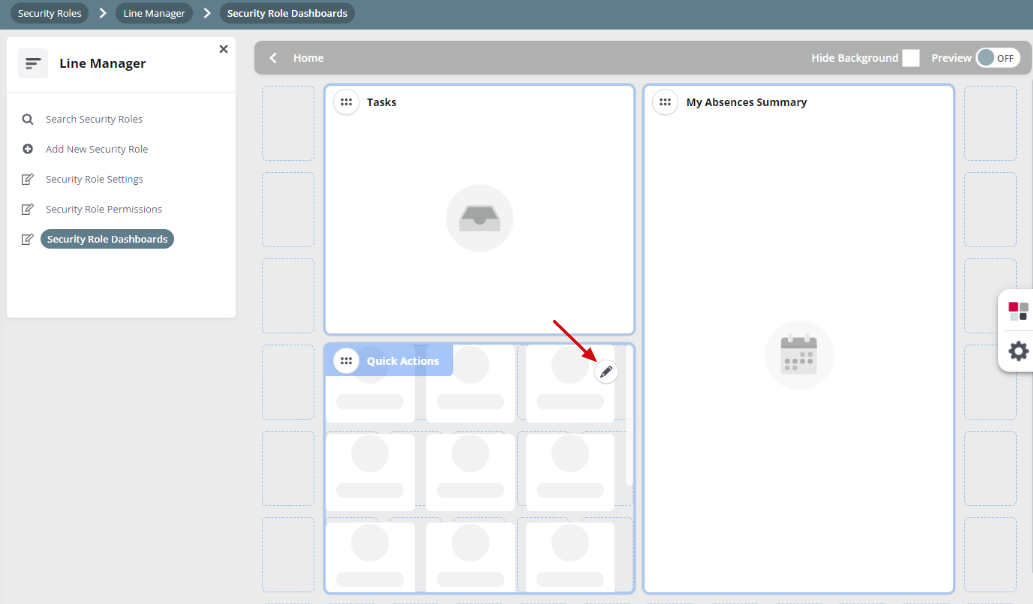
4. The widget configuration screen will appear. Follow the steps in the Configuring the Quick Actions Widget section below.
As a user configuring their own Quick Actions widget
For a user to configure their own 'Quick Actions' Widget, they can navigate to the Quick Actions Configuration screen by following the steps below:
1. Navigate to the Home Dashboard.2. Switch the Configure Dashboard button in the top right hand corner ON.
3. Click the Pencil Icon in the top right hand corner of the Quick Actions Widget.
4. The Quick Actions Configuration screen will open.
2. Configuring the Quick Actions Widget
Once you have navigated to the Quick Actions Configuration screen, the widget can be configured and edited by:
Deleting Quick Actions
1. Hover over the Quick Action that you want to delete.
2. Click on the Cross that appears on the tile.
3. Click Save and Close.
2. Click on the Cross that appears on the tile.
3. Click Save and Close.
Reordering Quick Actions
1. Click on the Quick Action you want to move.
2. Drag and drop the tile in the location you want it in.
3. Click Save and Close.
2. Drag and drop the tile in the location you want it in.
3. Click Save and Close.
Changing a Quick Action's Name / Icon
1. Select the Quick Action Tile you want to edit.
2. Type the new name into the Name field.
3. Select whether you want a Default or Custom icon.
4. Either:
2. Type the new name into the Name field.
3. Select whether you want a Default or Custom icon.
4. Either:
-
- Scroll through existing icons and select one.
- To upload a new custom icon*, click on the Upload icon (see below) and select the desired image from your files.

5. Click Save and Close.
Note:
- *Only HR Professionals can upload new custom icons.
- Once a custom image has been uploaded and added as an icon to a Quick Action, it will be available for all other users in your organisation.
- To delete the image from the icon options, it must be deleted from all Quick Actions across the system.
1. Click Add New Action.
2. Choose whether to add an Internal or External link.
2. Choose whether to add an Internal or External link.
- For Internal Links, scroll through the navigation options and click on the '+' next to the desired link.
- For External Links, add a Name for your link and enter your desired link in the Web Address field.
3. Select an icon for your new link.
4. Click Save and Close.
4. Click Save and Close.