An eSign process flow can be used with the Create & Merge a New Document with eSign option within the Documents & E-mails section of Cezanne. This article shows how to set up an eSign Process Flow and contains the following sections:
1. Find and Select the Process Flow
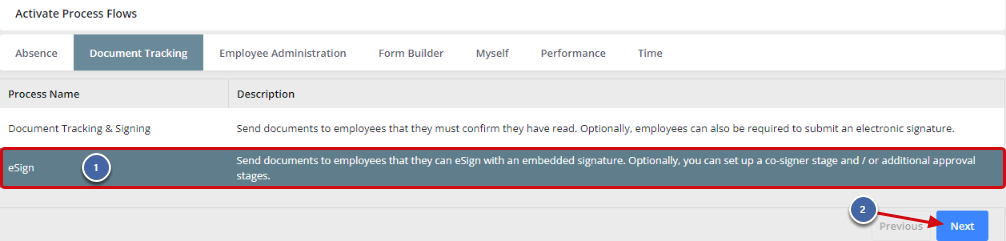
Navigate to: Administration >> Setup & Security >> Processes >> Document Tracking tab
- Select eSign.
- Click Next.
2. Process Setup
1. Enter a Process Name and Process Description (Optional).
2. (Optional) Enter the Signature Setup Confirmation Message that you would like signers to see when they go to sign the document. If you are happy with the default message (the grey text), leave this blank.
3. Select Append Audit Trail to attach a comprehensive list of all actions and participants related to a document as the back page.
4. Select Only Record Actions in Audit Trail if you only want actions to be recorded and participants who don't actually perform an action to be ignored and not appear in the Audit Trail.

5. Make any amendments to the E-mails involved in the process (to keep the default templates, click Nextto move to the next step).
-
- Click Add New to create a new E-mail Template based on an existing template for that type of message.
- Duplicates of E-mail Templates will show up in the picklist (click Refresh if it has been added in another tab while the Process setup screen has been open).

3. Configure Stages for Process
1. Select Send Completion E-mail if you would like an e-mail to be sent at the end of the process.
2. If you have selected to send a completion e-mail, you will need to select the Completion E-mail Recipient(s). The available options are:
-
- All Participants - all users involved in the process.
- Signers - all users who have signed the document as part of the process.
- Approvers - all users who have been an approver within the process.
- Specific User - a selected user receives a confirmation for all processes.

4. Choose the amount of Stages you require.
5. Select whether this stage will be a Signing Stage.
6. Choose who will approve each stage.

The following table lists who you can select to be the approver for each stage.
7. Tick any relevant Stage Options. For more information, see: Stage Options. The eSign process flow contains two unique Stage Options:
-
- Allow Participant to 'Reject' - this option can be used if you want to enable someone to reject the document itself. For example, you may want to send the document to someone to review before going to the employee and giving them the option to reject if there were mistakes or spelling errors. When a participant rejects the document, they must enter a reason for the rejection.
- Allow Participant to 'Refuse to Sign' - this option can be used if you have a document which is only optional for the employee to sign. For example, it may be that you send out a document and it is up to the employee whether they sign or not, in this case if the option is used, the employee could then refuse to sign. When a participant refuses to sign a document, they must enter a reason for the refusal to sign.

9. Once you are happy with the Stages and Stage Options, click Next.

