The Onboarding process enables you to assign a checklist and portal as well as optionally completing the standard New Starter process.
This article explains how to use the onboarding process for a new person or an existing person within the system and contains the following sections:
1. If the New Starter has not yet been added to the system
Navigate to: People >> Add New Hire
1. Select Onboarding & New Starter.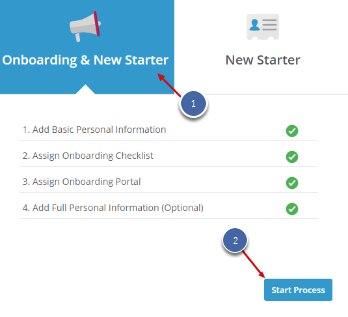
-
- Personal Information
- Employment Details
- Deployment Details
- Address Details
- Contact Details
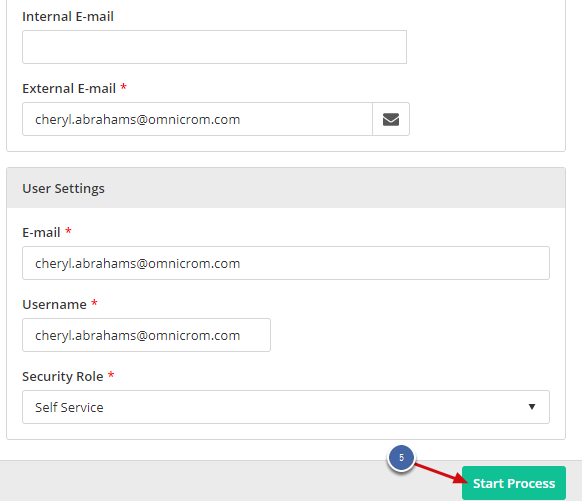
- User Settings
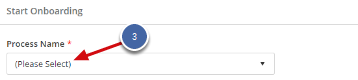
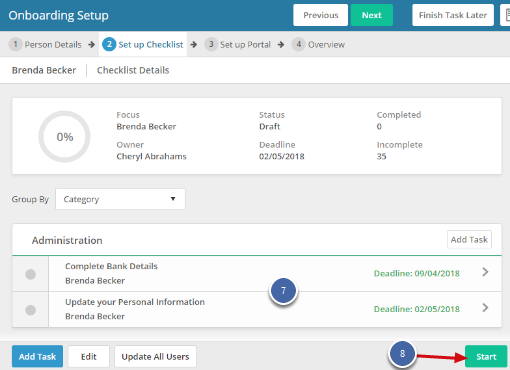
5. Click Start Process. The Onboarding Setup process will be started for the Onboarding Setup User.
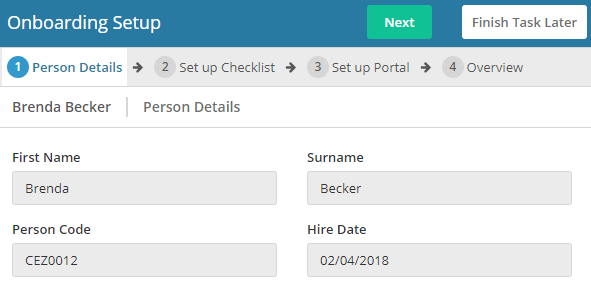
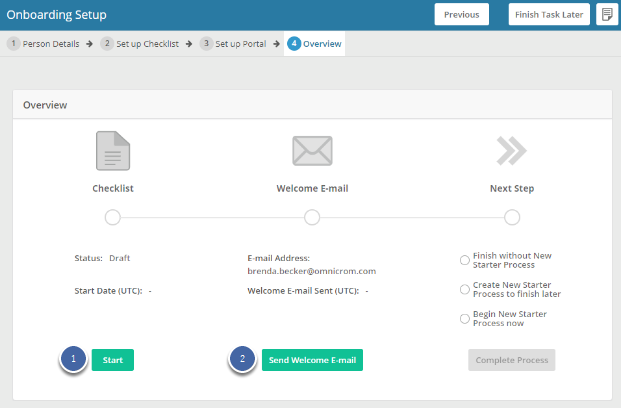
Onboarding Setup Process
The process consists of four tabs:
- This tab displays the Person Details for you to view.
- Click Next.


-
- Finish without New Starter Process - The process will be complete. If you want to use the New Starter Process later, you can use the Re-hire button from the employee's Personal Summary screen.
- Create New Starter Process to finish later - The process will be complete and the New Starter Process task will be in your Tasks inbox to carry on with when you are ready.
- Begin New Starter Process now - The process will be complete and the New Starter Process will start and open now for you to complete.
4. Select Complete Process.

2. If the New Starter is already in the system
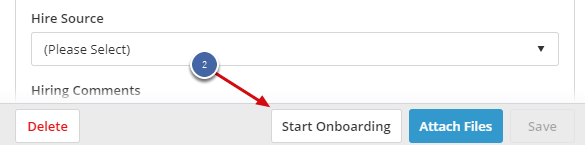
When the person has previously been added to the system, (e.g. through an import or the Send to Cezanne in-recruiting process), the onboarding process can only be started from the Employment Details screen.
Navigate to: People >> Employment >> Employment Details
1. Select a future employment record.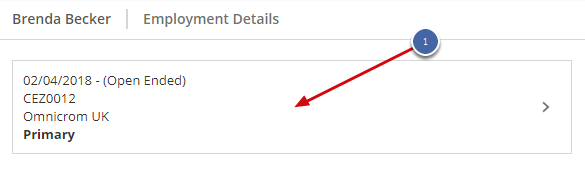

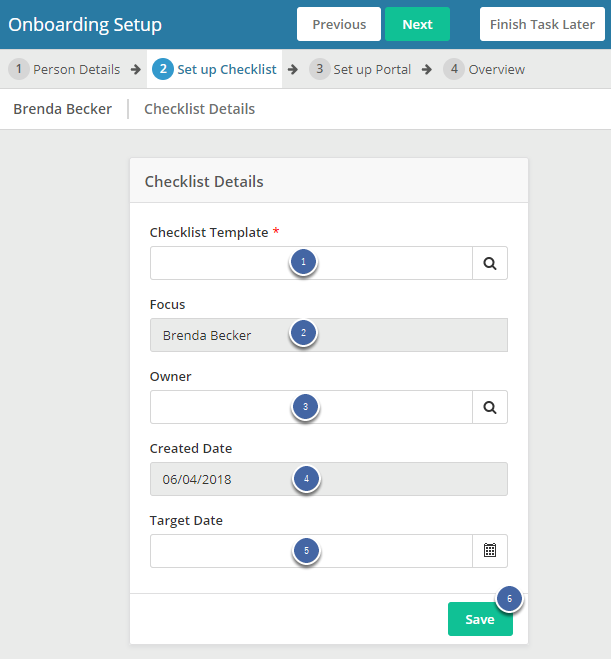
Onboarding Setup Process
The process consists of four tabs:
- This tab displays the Person Details for you to view.
- Click Next.


2. Click Send Welcome E-mail to send the Onboarding Welcome E-mail to a user.
-
- Finish without New Starter Process - The process will be complete. If you want to use the New Starter Process later, you can use the Re-hire button from the employee's Personal Summary screen.
- Create New Starter Process to finish later - The process will be complete and the New Starter Process task will be in your Tasks inbox to carry on with when you are ready.
- Begin New Starter Process now - The process will be complete and the New Starter Process will start and open now for you to complete.
4. Select Complete Process.
