In order to start using onboarding checklists, you need to first add a Checklist Template. Templates can be set up for each location or language that you will be using within your organisation.
This article explains how to add a Checklist Template and contains the following sections:
1. Adding a Checklist Template
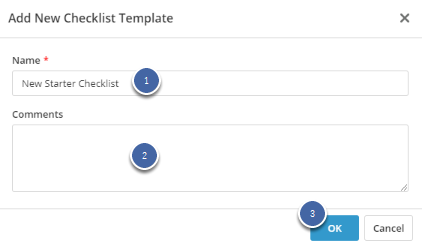
Navigate to: Onboarding >> Checklist Templates >> Add New Checklist Template
1. Enter a Name for the template.2. (Optional) Enter Comments.
3. Select OK.
2. Adding a Checklist Task
Navigate to: Onboarding >> Checklist Templates >> Checklist Template Details
1. Select Add Task.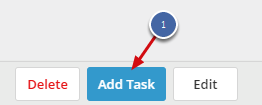
2. Enter the Description of the task.
3. Select the Category that you want the task to display in.
4. Select who the task will be assigned to.
5. Select the Deadline Date type. (The 'Target Date' is set when creating a Checklist based on this template).
6. Enter the number of days to base the deadline on.
7. Select the Activated Date type.
8. Enter the number of days to base the activation on.
9. (Optional) Include some Instructions to help a user complete the task and enter Comments.
10. Select Save and Close.
3. Editing a Checklist Task
Navigate to: Onboarding >> Checklist Templates >> Checklist Template Details
1. Click on the task you want to edit.
2. Make the required changes. (For more information on the options, see: Adding a Checklist Task section above).
3. Select Save and Close.
4. Starting a Checklist
To send tasks to the selected users, a Checklist needs to be set up and started. For more information, see: Checklists.